If you are here for the Woodware post, please scroll down!

 Sometimes when life gets hectic, you feel the need to give yourself a break. My post today is just that. I've pulled out an oldie but goodie from 2011 (which feels like just yesterday), that works with our "August as an Adjective" theme for the Dream Team.
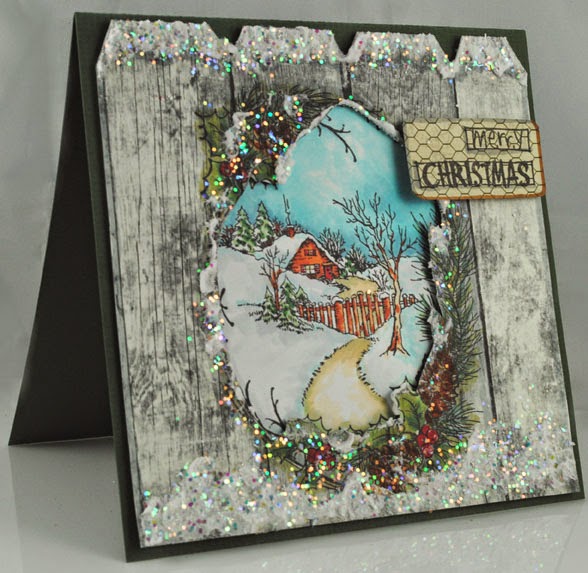
This is a card that works for so many occasions, so is great for creating in multiples...for weddings, Valentines, anniversaries, etc. Start with a black card base. Machine emboss* a pink square with the Dreamweaver Large Damask stencil, as well as a panel of black cardstock. Use a Brilliance pink inkpad to swipe shimmery color over the embossed areas on the black panel. Adhere both panels to the card. Now, ink-stencil the Rose Heart design with Versamark ink, and emboss with Stampendous Crystal Embossing Powder, on a pink panel and a black panel. Cut out, split in half, and adhere to card. Add a sheer ribbon bow, a silver word charm (found in wedding section of craft store), and a string of plastic iridescent beads to finish. It has quite a bit of "wow" factor, which I think makes this an "august" creation.
What has the "B" team been up to this week? Let's go find out...
*As a reminder on the "sandwich" for machine embossing with Dreamweaver Stencils:
1. Base plate to machine (Big Shot, Cuttlebug, Vagabond, etc.)
2. Stencil face down.
3. Cardstock face down.
4. Embossing mat (btw, Dreamweaver has an awesome one!)
5. TWO non-warped clear plates. This will protect your stencil as it goes under the roller.
6. Extra tip...spritz back of your cardstock with either water or isopropyl alcohol for a deeper emboss.