
If you are here for the Dreamweaver and Ranger Hop, either scroll down through the next post, or click HERE.
If you are here for the Woodware UK post, scroll down to the next post. Thank you!


 The Woodware UK team had a little different challenge for this week, and from a different source...Jill Tuck from The Stampman. The theme for this week is, "No Paper? No Problem!"...in other words, starting from scratch without the patterned papers and pre-made embellishments.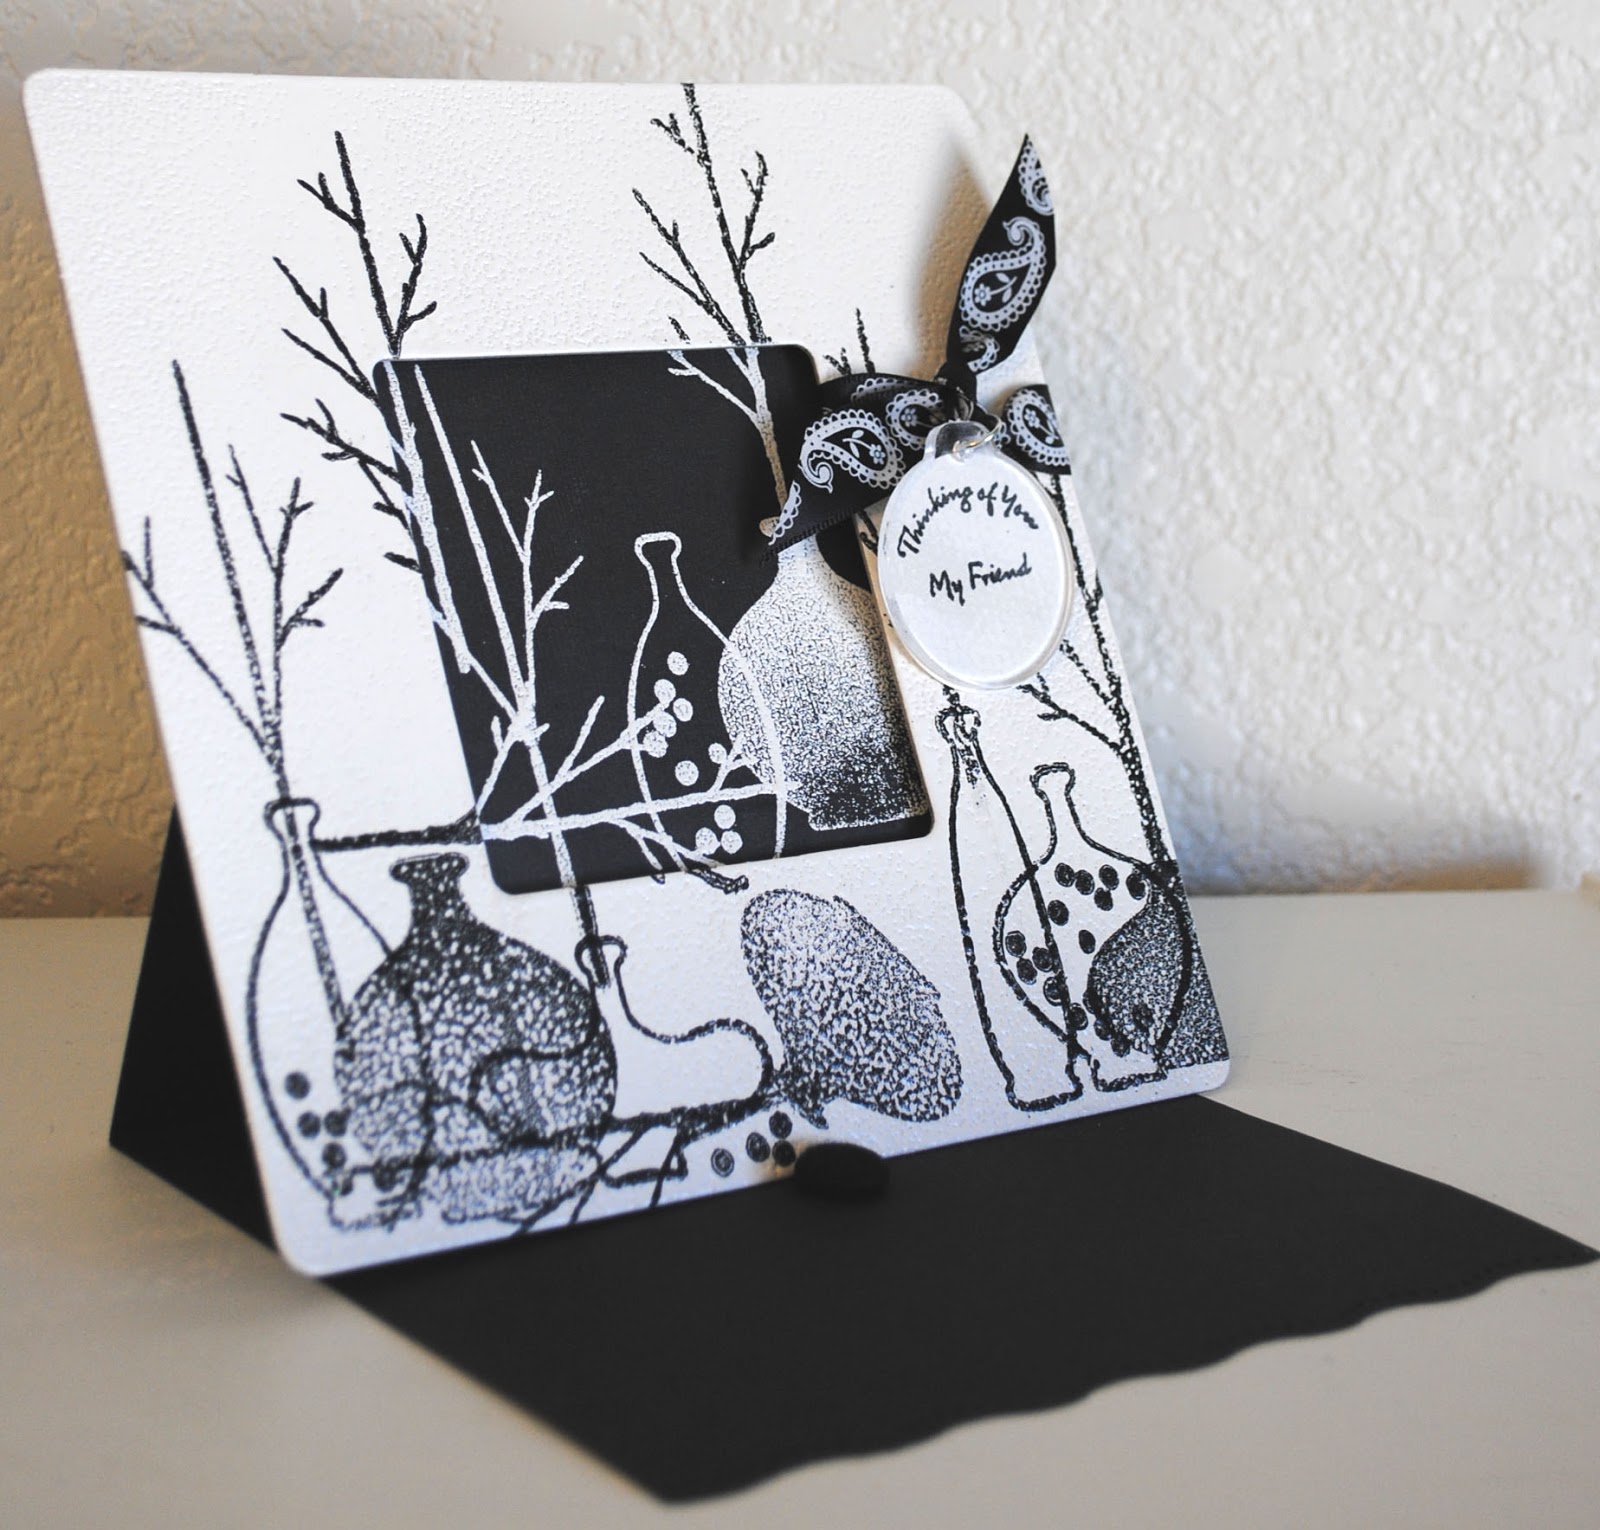


 |
| Such a happy color! |
 |
| Completed panel ready for inserting |

 Woodware is going to
the cats and dogs this week! This provided me with the perfect
opportunity to Cattus Librum.
"C.L." loves to read, just like me, and he is always amazed by how
quickly time goes by when you are in the throes of a great story.
Therefore, he has his pocket watch by his side to remind him...Tempus Fugit (time flies)!
Woodware is going to
the cats and dogs this week! This provided me with the perfect
opportunity to Cattus Librum.
"C.L." loves to read, just like me, and he is always amazed by how
quickly time goes by when you are in the throes of a great story.
Therefore, he has his pocket watch by his side to remind him...Tempus Fugit (time flies)! The
inside panel is an embossed piece of canvas, the corners have been
torn, and the card has been ink-distressed to mimic something you'd find
tucked away in an old desk drawer by a previous kitteh*.
The
inside panel is an embossed piece of canvas, the corners have been
torn, and the card has been ink-distressed to mimic something you'd find
tucked away in an old desk drawer by a previous kitteh*.


 I sanded and distressed them a bit. Then I daubed some Ranger White Acrylic Paint Dabber where I intended to place the flowers. I used the Stylized Dahlia stencil with Memento inks on tissue paper. The tissue makes it easy to wrap around objects. I used my favorite decoupage medium...and no, it's not the one that everyone thinks of first...I use Beacon's Fast Finish Decoupage Medium. It is somewhat thin, so I put it in a cup and brush it over the surface to wet it. Then place the tissue pieces on the wet surface and brush more of the medium over it until is smooth and completely covered before setting it aside to dry...which doesn't take long! Maybe 10-15 minutes depending on how much the tissue is soaked. When dry, I used the Small Cathedral Window stencil with Memento Teal Zeal and a stencil brush to add the background details. You could leave it at that, but I did brush another coat of the Beacon Fast Finish over the entire hanger for a little extra shine. Of course, I couldn't just stop there! I added a May Arts Chevron striped ribbon bow, tied with twine and a fun button to the hanger.


 Awwwwww. Are you feeling blue? Well, the girls on the Woodware UK team certainly are this week! Of course, the color blue never makes me feel down, as I love all shades, especially in the aqua/turquoise range! But, I do think it can be a wonderful color for a card of encouragement, like on my tweet card here. I created three background panels from one cardstock panel (it was royal on one side, and sky on the other) that I machine-embossed with the Dreamweaver Stencils' Small Cathedral Window. Cut into three panels, with the embossed and debossed sides alternating, it made a colorful backdrop to the little robin from Francoisé Read's Clear Magic "Tweet Friends" set. I inked the "tweet tweet" portion of the accompanying sentiment, and stamped that on the circle as well. My little robin was colored using a technique that I learned from Francoisé...watercoloring with a Sakura Koi Water Brush and Sakura Glaze and Star pens. Because they stay wet a few seconds longer, you can use a water brush to spread the color for highlights and shading. I used the Clear Magic Jane's Script sentiments to stamp the cute gingham ribbon with Clearsnap Mixed Media Black ink. I've found that particular ink works really well on fabric without bleeding. Give it a try!


