Yes, it's hop-time once again. This time we're playing with these cute little canvas totes from Canvas Corp. As usual, there are prizes up for grabs...like these...
All you need to do is check out all of the blog posts from our amazing team, the Stampendous Blog, and the Canvas Corp blog as well. Leave comments along the way.
(See Official Contest Rules.)
I'm sharing a tutorial of my project for today...
Though I didn't use my Chameleon markers for this project, I wanted you to see what a great tote this is for carrying your markers or other crafty items with you. Here's what I DID use:
 |
| Step 1: Tape stencil to surface. Spread paste smoothly over design. Remove stencil to clean. Set tote aside to dry. (Note: Insert something firm in pocket before pasting and stenciling.) |
|
|
 |
| Step 2: Mix a few drops of re-inker with a small amount of Fast Finish. Coat muslin scrap, and let dry. |
 |
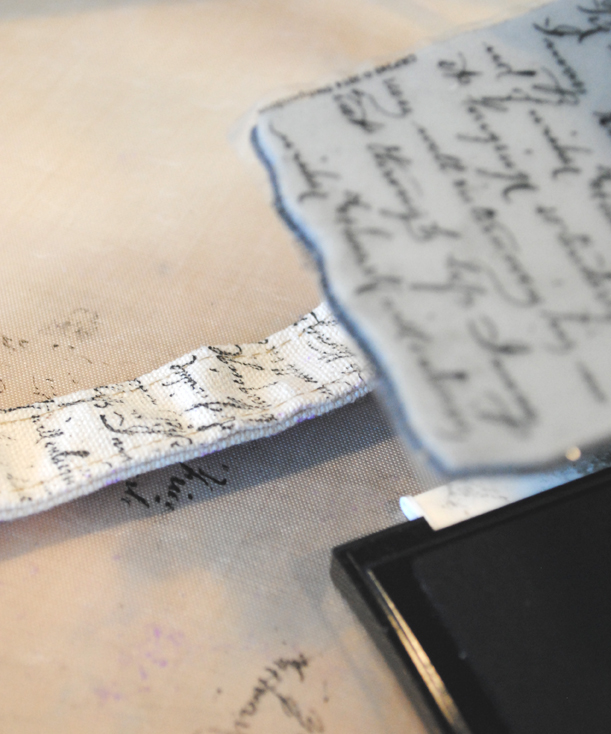
| Step 3: Stamp Vintage Note with Onyx Versafine. Apply heat tool to set ink. |
 |
| Step 4: Coat scrap of patterned fabric with Fast Finish. Let dry. (Coating with FF makes it easy to die cut later.) |
 |
| Step 5: Die cut flower from the purple fabric, and leaves from patterned fabric. |
 |
| Step 6: Brush Fast Finish over pasted sections. Place die cut pieces, and brush over surface to seal. Let dry. |
 |
| Step 7: Mix small amount of FF with re-inker, and daub with paintbrush over background and back of tote. |
|
 |
| Step 8: Place die over the top of design to mask while daubing paint. Let dry. |
 |
| Step 9: Place die over design again. Place Crusade stencil over top. |
 |
| Step 10: Ink stencil with large stencil brush and Onyx ink. Use heat tool to set ink. Repeat on back of tote with background stencil only. |
 |
| Step 11: Adhere extra scraps on front with Fast Finish. Adhere small pom poms with Zip Dry. |
|
 |
| Step 12: Adhere pom pom trim and strip of patterned fabric to tote with Zip Dry and Fast Finish respectively. |
 |
| Step 13: Tie cord through buttons as desired. Add drop of FF to hold bows. Adhere buttons with Zip Dry. |
 |
| Step 14: Stamp Vintage Letter with Onyx ink along one side of strap. Heat set ink. |
 |
| Step 15: Mix a bit of FF and re-inker again, and daub through Waves and Dots stencil along other side of strap. Let dry, and adhere more buttons. |
|
|
Leave a comment below, and head on to today's posts from the team...
Pam Hornschu (you're here)